Showing posts with label Tutorials. Show all posts

Thursday, March 16, 2023

Petticoats and possibilities - my quest for a capsule wardrobe continues

 Layers!

Hens are great layers.  But even better are clothes layered on top of each other.  It transforms a seasonal outfit into a multi-season extravaganza!  

Winters on the farm are muddy, mucky, bloody, and occasionally snowy.  I do a lot of laundry.  

Come lambing season, I can do two or three loads of laundry a day.  

So I want farm clothes that wash well, like cotton.  Only the problem with cotton is that it's not very warm.  It actually, what's the opposite of warm?  A single layer of cotton is terrible for working outside in the winter because if the cotton gets wet, it chills the human and can cause health issues.  So we could be forgiven for thinking that if a single layer does harm, a lot would do more.  

Layering the clothes creates air gaps that allow the skin to breathe and provide insulation so I can stay outside longer to get things done.  And since I often wear skirts or dresses when working on the farm, I can take my fall and spring cotton skirts and transform them into winter skirts by adding a petticoat or two underneath.  


This matches well with my capsule wardrobe goals. 


Saturday, March 05, 2022

fun and fluffy

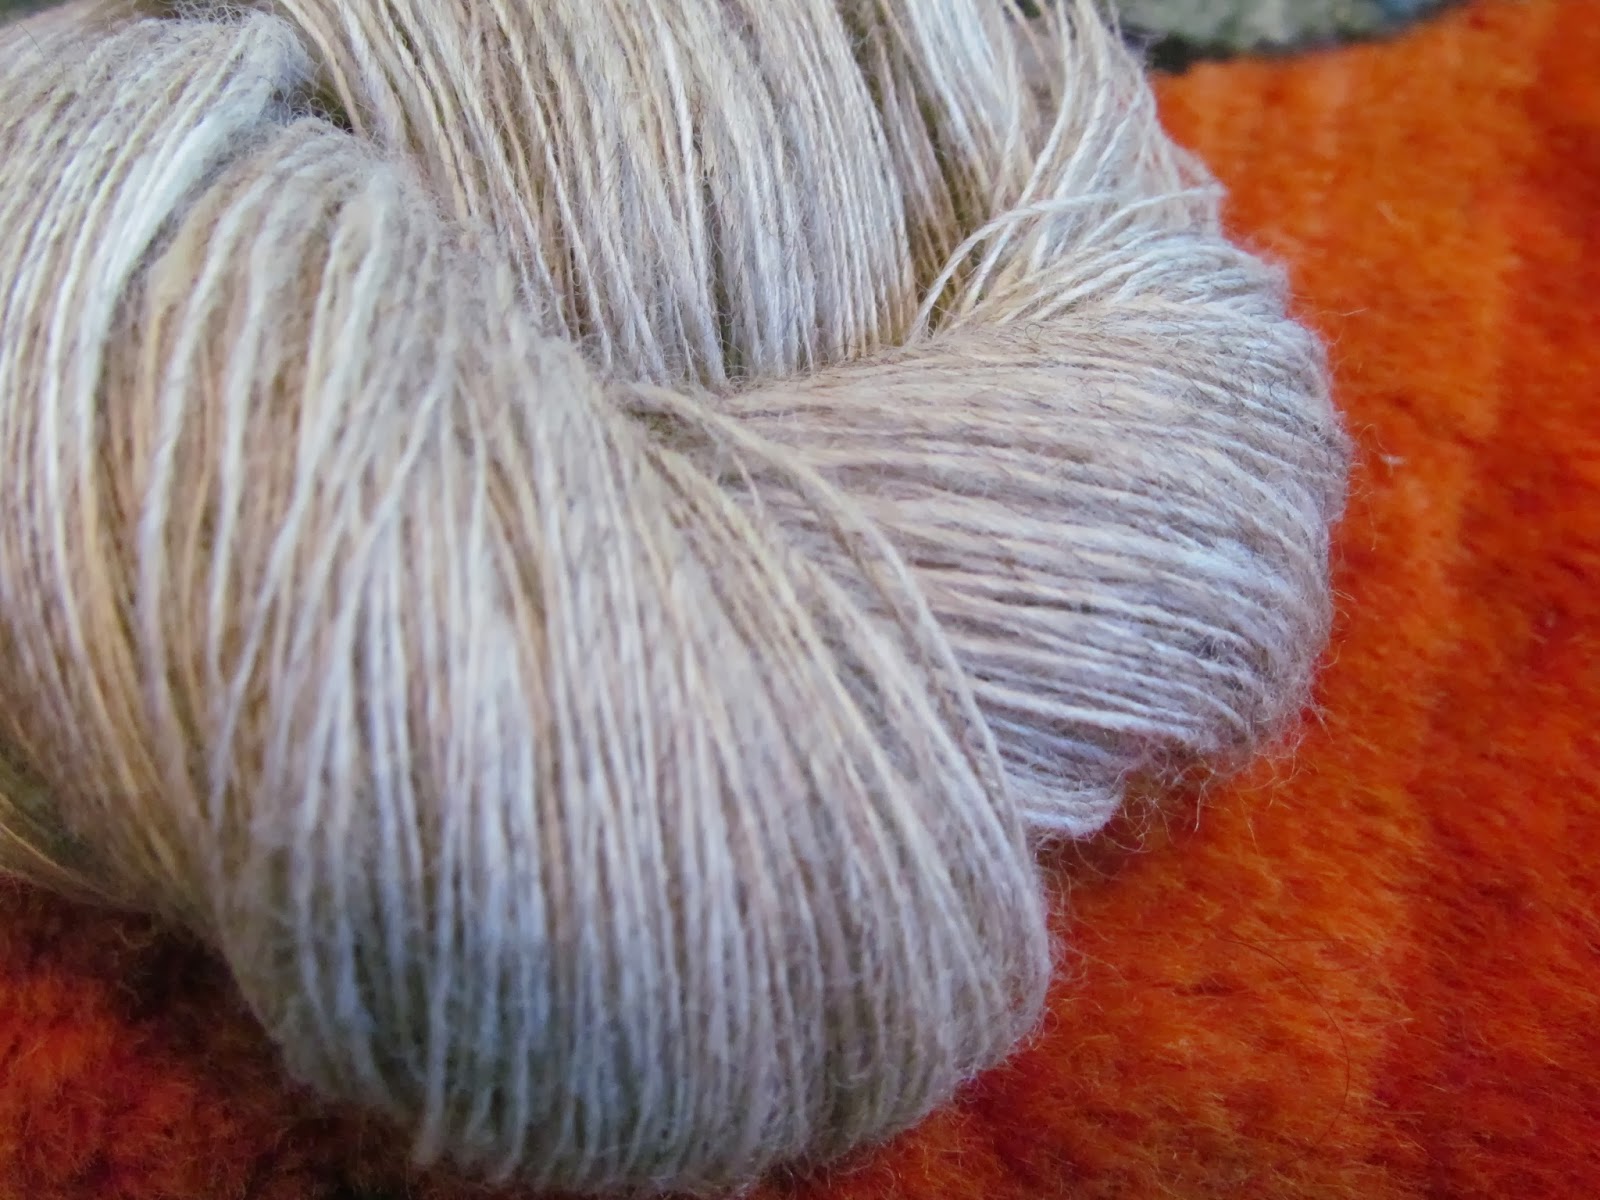
 Long story.  There was a question about spinning fluffy yarn - probably angora.  But making sure it stays fluffy.

So we talked about all the different ways and I mentioned just ply it in.  

What?  

I tried to describe it. 

Failed

Tried to find a tutorial.

failed

So I grabbed my camera and spent the morning making one:


Sorry about the lack of cute animals.  These youtube shorts are great exercise for me, but hard to get everything in under 58 seconds.  

I'm pretty sure I learned this technique from my spinning group.  But I can't for the life of me remember what it's called.

If anyone knows the name of this, please let me know.  


ps, this is even better if you use handspun silk, overtwisted, singles for the ply yarn, then ply as per usual but with the fluffy stuff getting caught between.  

Friday, January 07, 2022

Distaff Day 2022 - where I dress sticks in wool

We look at the past and forget.  

It's easy to do.  We forget that the spinners of years gone by didn't spin yarn for fun, or to save money or for sentimental reasons.  They did so because, without yarn, they were bloody cold!  

Yarn is survival.  

All the incarnations.  Be it string, twine, rope, thread, yarn... all was made by hand and without it humanity couldn't thrive in the extreme environments that we do today.  Yarn binds us together as a species.  

What amazes me most of all is how universal yarn production is.  Every culture that makes yarn has three steps (draft, twist, stash).  Sometimes these are done by different people (Cowichan Nations and Ancient Egypt), but always the same three steps.  Draft, twist, stash.

And almost universal is having something to manage your fibre source.  Often this is a distaff.  

If it was as clumsy as it feels to my modern hands, people would have given it up long ago.  And yet, even well into the 20th Century, handspinners who are connected to their cultural roots and a time when spinning yarn was a survival trait, still used distaves (plural of distaff).  

Last year, I set out to perfect my distaff spinning skills.  I got pretty good at it, but I also learned that one year is not long enough to master this skill.  There is so much more to learn.

But... I did learn lots and here are a few methods I found work well for me for dressing a distaff with wool.


There are as many ways to dress a distaff as there are spinners who use them, so try lots of things and find out what works well for you.  There is no wrong way so long as it gives you the results you seek.

Saturday, November 06, 2021

Willowing in the garden - Overcoming two self-imposed speed bumps

 Why am I hitting fluff with sticks?  Read on my friends, it's fun.

You know how you read or watch a nifty thing and you think you have the skills to do it.  You just never take that final step to trying the new thing.  Maybe you aren't confident you will do it right?  Maybe you let yourself get stuck on the tiniest detail (how long should my whippy willow rods be - I need specific numbers people!  How many inches?  No one will tell me, never mind, I now have a good excuse to return to my comfort zone.)

My friend Brenda took away my excuse not to try this nifty thing.  During the Virtual Sheep to Shawl, she set up a willowing station.  It was so much fun, why wait so long to try this?  

So I did what I do, and I took my new skill home and pushed it to the limits to find out what it can and cannot accomplish.  While exploring this skill, I discovered that there aren't many resources for it on the internet, so I made a video.  


The problem is, it's not the kind of video easily done within my comfort zone.  

My preference is to have as little as me as possible in the film, be it visual or voice.  I'm not that interesting, why would anyone want to waste their time listening to me... or so the voices in my head tell me.  

But this is more limiting than liberating.  I have a list (currently 5 pages long) of videos I want to make for you, but I don't want to make half-ass videos.  Each video I make, I want it to build my skills and to provide something useful to the world.  I have a lot to say on many topics and doing it silently wouldn't do it justice.  

I'm not sure if I'm saying this clearly.  

But learning the skills I need to make better videos is like flogging myself with whippy willow rods.


This video passes a huge milestone in my journey.  I cannot say how much courage it took, because I suspect for most people, this act would take no courage at all.  

Put simply, I do a lot of talking.  A voiceover for the whole video describing with a touch of storytelling in hopes of making a technical tutorial interesting. 

Emotionally and physically this is exhausting.  But I did it.  I published it.  No one yet has noticed (or at least mentioned) the mistakes I made with my speech impediment (mid-Atlantic accent mishmash that let a few regional flaws slip through)

These videos take longer to make, so I'll probably be alternating between longer with talking and shorter something silly videos for a while.   At least until I get into my grove.  

But it's a lot like willowing - a lot of fun and I don't know what took me so long to try it.  


If you like this sort of thing and want to see more of it, here are some things you can do to support me on my creative journey.

- go to youtube and give me a thumbs up!  Or even a subscribe!  That would be awesome
- or pop over to my Etsy shop and support me that way.

Saturday, October 16, 2021

It's a Test! A germination test.

This works with any seed (although the wait times vary), I find it useful to test flaxseed before planting so I can know how thick to sew the seeds.

When it comes to seeds, flaxseed has a very short shelf life.  Two-year-old seed often has poor germination rate so running this quick test will tell you a lot about how much you need to plant.


What you need:

  • some seed
  • paper towel or cloth
  • water
Count out at least 10 seeds (I like to do 10, 25, or 50 as they math into 100 easily).  The more seeds you have, the more accurate the results.  10 seeds are enough to get a good idea of how the batch will grow.

Fold up the towel/cloth and place it in the conditions the seeds would normally germinate.  

For example, if these were tomato seeds, then put them somewhere warm and dark like on top of the fridge.  Since these are flaxseed, put them somewhere fairly cool or room temp.  I left mine on the windowsill.

After a few days, check on the seeds and count how many sprouted.  For mine, 8 of 10 sprouted, so I know I have a germination rate of 80%.  That's pretty good for (non-commercial nursery) flaxseed.

If I have low germination, like 50%, then I can still grow the item.  I just need to plant twice as many seeds for the space as I would if I got 90+%.  


So how am I doing with youtube Short?  If you like it, please pop over to youtube and give it a thumbs up and maybe even leave a comment.  This will let me know if it's worth making more of these little videos.

If you like this sort of thing and want to see more of it, here are some things you can do to support me on my creative journey.

- go to youtube and give me a thumbs up!  Or even a subscribe!  That would be awesome
- or pop over to my Etsy shop and support me that way.

Saturday, September 04, 2021

Sewing - the narrow hemmer foot

This last year I've been learning a lot about sewing.

It turns out it takes less time and money to sew my own clothes than it does to try to find something that fits both my style and body.  But sewing means I can make what I want to wear and make it fit.

I do my sewing on my Antique Singer 127 (which is now about 105 years old!).  It's such a kind machine and forgiving.  

One of my favourite feet is the narrow hemmer foot.  It's a bit tricky to use until you figure out that the fabric edge lines up with the edge of the foot before folding over.  Hard to explain, so I made a video:


If you like this sort of thing and want to see more of it, here are some things you can do to support me on my youtube journey.

- go to youtube and give me a thumbs up!  Or even a subscribe!  That would be awesome
- or pop over to my Etsy shop and support me that way.

Thursday, September 24, 2015

Flax processing tools

dried flax plant with seed pod

removing the seed pods with a dowel

seeds ready to winnow

Once the flax is retted and dried, we break the flax.
This begins separating the boon (chaff) from the fibres

The flax is then scratched using a wooden sword and board to remove more boon from the fibre.

The flax is then passed through the hackles, starting with coarse ones like this

Long and spiky, these hackles work well.
Traditionally the spikes would not be round, but have three or four sides,
with very sharp corners

Carding cotton into punis

Cotton Boll

Seeds easily removed by
gently holding fibre and pushing out the seed

Charge the cards with the fibre

Card the cotton to organize the fibre

Rolling the carded cotton around a knitting needle

To create a puni which keeps the fibre organized and easy to spin
The cotton I'm working with for the tutorial didn't come in boll form (that's from a floral shop), but rather it's already been removed from the spiky shell and is ready to separate from the seed.  The seeds are about as heavy as the fibre, so a pound of cotton, actually makes about half a pound of fibre, and half a pound of seed.  But with luck, maybe these seeds will grow and the house will be full of cotton houseplants.

Tuesday, December 10, 2013

A few words about blocking yarn


Blocking yarn is one of the final, and possibly the most important step in handspinning.  It is also one of the most neglected steps.  It can transform a mediocre yarn into a fantastic one.

These are the main tools you need, a swift and something to block it on like a niddy noddy or a yarn blocker.

Umbrella swift
and an over sized yarn blocker that fold up for easy yarn removal
This is some Polwarth Wool from New Zealand that I spun up.  This is as it came off the spindle/bobbin but before it is blocked.  

Spinners call this Singles, knitters call it One Ply.  Blocking is especially important for singles.  Can you see how it's sort of twisty and, well, almost alive?  Working with this yarn as is would be somewhere between annoying and difficult.  But if we block the yarn, we can make it easier to work with and actually distribute the twist more evenly, improving the integrity of the yarn overall.


There's the same fibre, spun the same way after blocking.  Isn't that gorgeous?  This is going to be way easier to work with.


The two side by side so that you can really see the difference.

This also makes a huge difference with plied yarn.  A lot of people think, 'oh, it's plied, so it doesn't need anything else'.  But just try it and you can see the difference.

Another thing about plied yarns is that most people create a balanced yarn on the wheel.  That means that they ply the yarn so that it has no excess twisty-ness as it goes onto the bobbin.  This is great when you are just starting out, or if you are going to use the yarn right away.  Because over time, the yarn relaxes, it's can be beneficial to put a little extra twist into your yarn when plying, that way over time, the yarn becomes balanced.  Also depending if you are knitting or crochet, and what hand you carry the yarn in...depending on these things, your yarn will gain more twist or less.  So if you can know the finished end to the yarn, you can ply it with too much or too little twist so that the yarn is 'balanced' in it's final incarnation.  (sorry, I'm writing this pre-coffee, so I may need to edit for clarity later).


So here's how you block the yarn.

First give the yarn a good soak so it's wet through and through.  Wuz it (either on the spin cycle of a top loading washing machine, or by going outside, gripping the skein of yarn firmly in one hand and spinning it over your head).  Then put it on your swift and wind it onto your yarn blocker or niddy noddy.  Leave it there till completely dry and tie it at least twice before removing.

You can just wet the skein while it's on your nid, and leave it to dry there. This is good if you are in a hurry and/or don't have a swift.  However, it does risk tangles later when you unwind the skein.

The further apart the swift and the yarn blocking gadget is, the more the twist will distribute and create a more consistent product.  (yep, I really shouldn't try to write pre-coffee, but the meaning is there somewhere).

Left to right: alpaca, jacob and polwarth


Tuesday, December 03, 2013

Handcarding wool for spinning - some words as to why it is worth it

The other day when I mentioned to another spinner that I was carding an entire fleece by hand, their reaction was shock followed by 'why don't you get a drum carder?'  It's not the first time this has happened.  I have two drum carders, actually, that I've acquired over the years, but sometimes they just don't cut it. Either the fleece won't work with the drum carder, it's too fragile, too variable, too short, too long... &c, or I want a specific result and can only get that by hand, or sometimes, I just don't have time to use a drum carder so I do it by hand.


Wait a moment.  Did I just suggest that hand carding is faster than drum carding?  Yes I did.  And it can be, unless you have one of those super-awesome ultra-modernized electric or steam powered drum carders... then of course, it's faster than hand carding.  Got to love those super-awesome ultra-modernized electric or steam powered drum carders.

What makes hand carding faster is that it's less restrictive.  With drum carding you have to dedicate yourself to the task at hand, whereas hand carding can be done while multitasking, anywhere you like.  You can do two or three minutes in the kitchen while waiting for the kettle to boil, then take your cuppa tea and card in the TV room, then you remembered you need to update your computer, take the cards to where the computer lives, and card a bit while waiting for the updates, or watching videos, or whatever you do on the computer....You can take the cards to spinning night, to the garden where your friends kid is running around,... anywhere (well, almost - just remember those teeth are dangerous and pointy).  Whereas a drum carder needs to be set up and clamped down in one place.  Think about it as the difference between a spindle and a spinning wheel, or more to the point, a knitting machine and two pointy sticks.   

So if judging by actual minutes spent at carding, hand carding is the slower choice, but if pure dedicated efficiency was the case, we wouldn't be spinning by hand or knitting our own socks.  It's the pure flexibility of hand carding is why I love it.  It's not for every fleece, but it does have it's uses and shouldn't be publically shunned by those who have never tried it and/or don't know how to do it properly.  (oh, sorry, that sounded bitchy.  But lately I'm so frustrated by well-meaning people who try to help by dissuading others from even trying.  Yarn people get enough of that in real life with all the 'why don't you buy your own socks instead of wasting time knitting them', I wish we would remember how this and be more careful when advising others to give up before they even started... but sigh. That's not a topic for today.)


But hand carding is hard on the arms and damages the cards?  Both true, unless you do it right.  Then it's not that way at all.

I'm going to give you a few tips and pointers.  Many of you already know this, but I'll start from the basics.


How to use hand cards to prepare wool for spinning into yarn.


First a bit of advice.  Have you ever heard that sound when the teeth (the pointy bent bits of wire) on the two cards rub each other?  This is a bad sound and means that your cards are being damaged.  It also means that you are having to put extra effort into the task of carding because now you don't just strain against the wool, but also against the teeth.  To make it easier on your arms, and your cards last longer, use this sound as a warning alarm.  Like a big loud klaxon.

There are lots of different opinions on how to card by hand, so I'm not going to be offended if you don't like mine.  The reasons why I think my way is good is because it's not tiring on the arms, it's fast, and after carding almost a dozen fleeces, I have only one bent tooth which I think was bent in transport and not from actual carding.  

First of all, we do what's called charging the cards (we put wool or other fibre on it).


The key to making carding easy is not to put too much fibre on it.  A small handful of wool, allow the tips of the fibre to catch in the teeth of the card, and then gently pull.


Here's the card fully loaded.  You notice how most of the fibre is at or hanging over the edge of the card?  That's good.


The next thing you do is to catch the end of the fibre with the end of the second card.
Can you see how far apart the two cards are?


It's just like combing long hair, you start at the ends, then move slowly up.  Catch a bit of the wool, move the cards apart, catch a bit of the wool, move the cards apart.  Remember the goal of this is to organize the fibre, NOT to move the fibre back and forth between the cards as quickly as possible.  I think I need to say this again, only in bold, because it is really important!  The goal of this is to organize the fibre, NOT to move the fibre back and forth between the cards as quickly as possible.

So by now, you've carded all the fibres that were hanging over the edge of the first card.  Now comes the tricky part.  If we were to just continue the same motion, we would have the two cards rubbing teeth - we don't want that.  So we hold the first card stationary (yes, I know I switched hands in the photos, sorry for the confusion) and move the second card in a rocking motion so that it lifts up just the end of the fibre.


Once the tips of the fibre are lifted up, and the cards are not touching each other anymore, we can pull apart the two cards, thus untangling the fibre and not rubbing the two cards together.  Continue doing this until the fibre is moved to the other card... but slowly and concentrate on organizing the fibre, not speed.  Speed will come with practice, but is useless unless it gets the desired effect.

Also for this, I find if I use my wrists too much, they tire quickly.  So I usually engage my whole arm, keeping wrist and elbow semi-ridged.  If something starts to fatigue, I put the cards down (where they won't accidently damage anyone) and stretch.  You know, repetitive motion stuff, bla,bla,&c.

This is after the first pass on the cards.  Much more fluffy than before, but still a bit tangled.  So let's do it again.


After the second pass:


 It looks ready to go.  At this stage you can choose how you want to organize the fibre: flat, rolag, or worsted-style rolag.  For this yarn, a traditional rolag works well.


And there you have it. Takes about 1 to 3 minutes  10 to 40 seconds per rolag.  The basket full is about 1/3rd of an icelandic fleece from a beautiful, and friendly sheep named Cloud.


Tuesday, December 04, 2012

How to clean a Vintage Singer Sewing Machine, Singer 127

December is a month of holiday celebration   It is also the month I like to give myself a treat and clean, clean, clean.  The goal is to have a tidy living space in time for the beginning of the new year.  I'm not all that fond of the process of cleaning, but I do like a tidy house, even if it never seems to last long.

I'm starting this month off by cleaning my main sewing machine, my Singer 127 treadle.  If I have a chance I might take apart the treadle base later, but for now I'm just giving the machine a check up and tidy.


Please keep in mind, the process to clean an active vintage sewing machine is a little bit different (and a lot easier) than cleaning one that has been in an attic for most of the century.

I'll walk you through my process for cleaning.  Different people do things differently and there is slight variation between machines, but generally any pre 1948 machine follows the same basic process.  Actually, it will work with most pre 1990 machines, but it's always good to check the manual before tampering with the newer machines.


Things you need to clean your vintage sewing machine

  • cotton swabs
  • good sewing machine oil
  • flat head screwdriver
  • a used sewing machine needle
  • paper towel
  • sewing machine
Start at the top and gently wipe any dust off the outside of the machine with a paper towel or tissue and a tiny bit of oil.

From here on in, at each step, check for any signs of wear or metal scraping on metal.  This will appear shinier than the surrounding metal.  Stop!  I said STOP!  A this point and find out why.  Fix it!  then keep going.  If you don't fix it, your machine will break, and then you can't sew on it until you undergo major repair.  

Also, please see the manual specific for your machine for the oil points.


Next, take off the face plate at the front end of the machine.  Remove any lint or excess oil that has gathered inside during the year (or longer).  Generously oil the needle post (the thing that goes up and down with the needle on the end) and any moving parts you can see.


Also oil at the top of the needle post thingy.


At the front of the machine there is a trapezoid plate.  Some machines have an opening at the back instead.  Some have both.


Open it up, remove any lint or visible puddles of oil.  Lubricate any moving parts and inside the grove (it's kind of hard to see, but if you turn the crank wheel slowly the same direction you would normally sew in, you can see it.


While we are at the front of the machine, clean any lint and oil your bobbin winder.


At the back of the machine is a circular plate, like everything else, clean any visible puddles of oil (there really shouldn't be any here as they only tend to form in the first two.  Oil where it says to oil in your manual (or anywhere things move).


Place a drop of oil in each of the holes at the top of the machine.


Now it's time to clean the bobbin area and the feed dogs.  This place tends to get linty fast.  I find that the used sewing machine needle tends to be excellent for fishing lint out of those hard to reach places.  Check your manual if your machine differs from mine.


Remove the plates, bobbin and if applicable bobbin casing  clean out any visible lint.  Make sure the feed dogs are happy and don't have any obvious damage.  Check to see if there are any needle marks in teh feed dog plate - this is a sign that you are doing something wrong (either using bent needles or tugging at the fabric) or that your machine is royally F-ed up.  Preferably the former.  

Do not oil or put this part back together yet.  Instead, disengage the treadle band and turn your machine on it's back so you can see underneath.


Clean all the lint you can find. Oil according to the manual (or one drop on each moving spot).

Put machine right way up and check again for lint (there is bound to be more that didn't show up the first time).

Oil the racier track and anywhere else that it tells you to in the manual.


Remove the bobbin from the shuttle and take the shuttle apart   Check for burs or anywhere that might snag the thread.  Clean and wipe down with a paper towel that has sewing machine oil on it.  Use a cotton swab to clean the inside of the shuttle, especially the bottom.  Place one very, very small drop of oil in the bottom of the shuttle and reassemble.  


Check for signs of wear on the outside of the shuttle - for example where the needle might be hitting it or it might be rubbing on the racer track too much.  This is a sign that things need adjusting.


Get some scrap fabric and thread.  Sew a whole bunch of stitches.  It will get the fabric oily, so make sure you use scrap.  Adjust the tension as necessary.


This takes me about 20 min if I don't keep stopping to snap photos for my blog ;) however, on a machine that isn't used very often or properly maintained, this task can take hours or even weeks to acomplish.


Wednesday, February 09, 2011

Singer 127 - the narrow hemmer foot!


I don't know if this might help or interest anyone out there, but I'm putting together a series of Getting to Know my Antique/Vintage Singer Sewing Machine (Singer 127). Today I learnt about The Hemmer Foot.

I would like to ask any sewing machine experts to please point out anything I'm doing wrong. I'm a self taught sewer and am learning about the machine by working my way through the manual.


I would have to say that the narrow hemmer foot is one of my most favourite sewing tools. It ranks right up there with a sharp pair of sewing scissors. A hemming foot is amazing! It can be used to make a very narrow hem (less than 1/4 inch of fabric used), for making a very narrow enclosed seam called a felled seam, and for a few other things.


To make a hem using this foot, place the fabric wrong side up. Press the edge that you are about to sew over about 1/4 an inch (a little less is good) for most of an inch along the edge. You can use your fingers for this like I do, or you can get out your trusty ironing board.


Place this folded over section under the pressure foot.


Sew two stitches and on the third stitch, stop with the needle in the fabric. Work the edge of the fabric gently up into the swirly part of the hemmer foot. You need to make certain you don't have too much fabric or too little, but knowing how much that is only comes with practice.


Continue to sew along the edge adjusting the direction of the fabric with your left hand and using your right hand to guide the hemming edge into the hemmer foot.


Trust me, it sounds simpler than it is.

I recommend that you practice and practice and practice before attempting this on your finished project. Good news! There's an easy and frequent way to practice this technique.


And there you have it. A tidy narrow hem accomplished in one swift pass of the sewing machine.


Have you ever brought fabric home from the shop, sewn something without washing the fabric first then have your effort shrink drastically in the first wash? Maybe you are smarter than me and have never had this happen; but, my very first sewing project when that way and now I wash every yard of fabric that I bring home. First. Before sewing.

Besides, there are a lot of chemicals and sizing that goes into cloth these days and I don't like being exposed to nasty toxins while I sew so I wash out as many of them as I can.

If you just bring the fabric home and stick it in the washing machine, the cut edge frays and you end up with (sometimes quite a bit) less fabric than you started with. If you sew a quick zig zag stitch along the cut edges, then it really cuts down on the fraying.

Or, you could practice your awesome hemming foot skills along the cut edges of the fabric before washing it.

It's a great opportunity to practice. You have a nice long streight edge and it's not going to show in your finished project.


A few other things you can use this foot for:

  • You can make a narrow felled seam (more on that later I hope)
  • You can add lace while hemming (I don't have any lace on hand at the moment, so I cannot show you that just yet)
  • You can use it to finish the edges on seams
  • you can hem with it.
  • I like to use it for the inside edge of the facing on blouses.

A few pointers for using this hemmer foot:

  • First and foremost do a nice large sample on the same fabric that the finished hem will be on. The thread tension is all different for this than for regular sewing and takes a while to adjust.
  • Remember to check the underside (right side) of the fabric as you sew as that's the side that will show.
  • Use a sharp needle. Some reason dull needles make the whole thing messy.
  • Works best on thinner fabric like quilting cotton or thinner.
  • I've never tried it on knit fabrics, but I know it works well on woven
  • It makes a great edge for handkerchiefs
  • Just have fun with it. It's a great little helper and you never know when an occasion to use it might present itself.
Oh and one more thing: Don't do the back stitch thing to secure the stitching. Tie the individual threads in a knot at each end when you have finished sewing. If you are just putting it directly in the washing machine, you don't really need to do that, just leave about an inch when you clip the threads. I've never had it unravel.