Friday, December 13, 2013

falling fungus for possible yarn dye


Here's some pretty lichens from today's walk in the woods.  Also some arbutus bark and a piece of fungus that fell from the sky.


It's a Bracket Fungus and around here they grow on old stumps and dead trees.

I've seen mention that we may be able to use this to dye yarn and even make paper... sounds like fun to me.  Here's a book that was recommended to me on that topic.  I'm still contemplating getting it as I've just got back from the post office and sending those last minute holiday parcels can be a bit difficult on the bank account.

I think I'll try this little piece and if it works, I have a big chunk growing on a stump that I keep meaning to destroy (both stump and all things growing on it).   It's a nice size mushroom; the ruler in the photo is 12 inches long.


Thursday, December 12, 2013

Lichen for dye

I've been going for a walk each day to check on the maple trees (syrup making time!).  I noticed that there are a lot of bits of lichen that have blown off the trees, so I started gathering these blowdowns with the hope that I can use lichen to dye yarn.


There are a ridiculously large number of different kinds of lichen that grow in  this kind of forest, far more than even the professional lichenologests (fun new word I made up) have had a chance to catalogue.  So basically I'm trying to sort them by shape and a bit by colour, though with the larger, flat lichen it's a bit difficult to know which are different kinds and which are just variations of the same kind.  The thin beard shaped lichen have more distinct characteristics and are easier to sort.


Lichen is absolutely fascinating.  It's also creepily beautiful.  It is a symbiotic life form, consisting of fungus and algae living together and 'lichen' it (ha ha, lichen sounds like like'n... it's a naturalist joke).


So far I'm gathering about a pocketful a day, separating out any bark or debris I can find, then sorting them.  

I don't know how to dye with these, so I have a lot of research to do.  But I'm looking forward to seeing how this experiment turns out.

Tuesday, December 10, 2013

A few words about blocking yarn


Blocking yarn is one of the final, and possibly the most important step in handspinning.  It is also one of the most neglected steps.  It can transform a mediocre yarn into a fantastic one.

These are the main tools you need, a swift and something to block it on like a niddy noddy or a yarn blocker.

Umbrella swift
and an over sized yarn blocker that fold up for easy yarn removal
This is some Polwarth Wool from New Zealand that I spun up.  This is as it came off the spindle/bobbin but before it is blocked.  

Spinners call this Singles, knitters call it One Ply.  Blocking is especially important for singles.  Can you see how it's sort of twisty and, well, almost alive?  Working with this yarn as is would be somewhere between annoying and difficult.  But if we block the yarn, we can make it easier to work with and actually distribute the twist more evenly, improving the integrity of the yarn overall.


There's the same fibre, spun the same way after blocking.  Isn't that gorgeous?  This is going to be way easier to work with.


The two side by side so that you can really see the difference.

This also makes a huge difference with plied yarn.  A lot of people think, 'oh, it's plied, so it doesn't need anything else'.  But just try it and you can see the difference.

Another thing about plied yarns is that most people create a balanced yarn on the wheel.  That means that they ply the yarn so that it has no excess twisty-ness as it goes onto the bobbin.  This is great when you are just starting out, or if you are going to use the yarn right away.  Because over time, the yarn relaxes, it's can be beneficial to put a little extra twist into your yarn when plying, that way over time, the yarn becomes balanced.  Also depending if you are knitting or crochet, and what hand you carry the yarn in...depending on these things, your yarn will gain more twist or less.  So if you can know the finished end to the yarn, you can ply it with too much or too little twist so that the yarn is 'balanced' in it's final incarnation.  (sorry, I'm writing this pre-coffee, so I may need to edit for clarity later).


So here's how you block the yarn.

First give the yarn a good soak so it's wet through and through.  Wuz it (either on the spin cycle of a top loading washing machine, or by going outside, gripping the skein of yarn firmly in one hand and spinning it over your head).  Then put it on your swift and wind it onto your yarn blocker or niddy noddy.  Leave it there till completely dry and tie it at least twice before removing.

You can just wet the skein while it's on your nid, and leave it to dry there. This is good if you are in a hurry and/or don't have a swift.  However, it does risk tangles later when you unwind the skein.

The further apart the swift and the yarn blocking gadget is, the more the twist will distribute and create a more consistent product.  (yep, I really shouldn't try to write pre-coffee, but the meaning is there somewhere).

Left to right: alpaca, jacob and polwarth


Monday, December 09, 2013

Handspun Llama hat!


This is my very soft llama hat I knit to go with my grey scarf.


I'm very slowly transforming my wardrobe into something a bit more congruent and full of natural colours.  In fact, I may possibly be obsessing with the colours that the sheep (and llamas) grow naturally, I just can't believe how beautiful they are.

Truth is, I don't know which llama the fibre came from to make this hat.  It may possibly have been both.  I had a pile of fibre that needed spinning, so I spun it in the dark while watching TV.  Only later, I discovered that there were two distinct colours: jet black and dark grey brown.  Oh well.  Random but subtle colour changes make this yarn really nice.  And it's soft!  So soft!  Softer than most wool and 4 times as warm.  I knit the hat loosely because I knew a tightly knit fabric would be too warm.

I used the Elizabeth Zimmerman pattern for a hat from her book The Sweater Workshop.  Knit in 5mm needles, at slightly more than 4 stitches per inch.  It's the best simple hat pattern I've found, but also a bit hard to follow because the pattern is scattered through several chapters in the book.  The hardest part for me was getting my arthritic thumb to not participate while knitting the ribbing... But it is learning, and awareness is the first step to behaviour change, I just with hands were quicker learners.

No one told me that llama could be so incredibly soft!

A little over 500 yards left over and a 5 lbs of fibre... I may just have to spin some up later for a cardigan, but first my wheel and I have other, even more fun commitments.

Saturday, December 07, 2013

Handspun Scarf - like a full moon on snow


One of the things about living in the country is that we really notice the moon.  On a full moon night, it's so bright, you can see everything as if there was a second, colourless sun in the sky.  There really is that much light, enough to read by, or work.  You just don't get the same effect in the city.

This scarf reminds me of the play of shadow and light when the moon is full and there is a light dusting of snow on the ground.  Snow is the reason why I knit this scarf.

The weather forecast told us snow was coming later in the week and I realized that my scarves were either too thin or too nice to wear around the farm.  I also wanted to see if I could train my hands to knit without using the arthritic joints (did it, with mixed success).


I gathered a pile of handspun yarn, in colours that matched my mood, dug out the largest circular needles I could find (36" long, 6mm) and cast on way more stitches than the needles could reasonably fit (roughly 600 but I didn't count so it may have been more).  The scarf is knit in gtst, as you can see, the rows go lengthwise instead of the usual widthwise.  The yarns were either ends of old projects, samples I knit, and starter yarns.  Just odds and ends, but all handspun by me.  Some only a few inches long, some several yards.

The scarf was knit almost SAORI style, which is basically free-form knitting.  I choose one yarn, knit until it was done, then choose the next depending on what I was feeling at that moment.

This orange thread is my favorite yarn I ever spun
Spun with combed cotswold locks,
and dyed with madder.
This is the last little scrap of this yarn in my stash

Here we have the oldest and youngest yarns.
The silver awl is pointing to one of my first ever yarns.  It's spun on a drop spindle, over spun, has a marvelous texture and was created during my first week of spinning.  The gold awl points to a sample of icelandic wool (from no-horn-blakish-greyish sheep...yes, that's her current name), I spun minutes before knitting it into the scarf.  Both spun on the same drop spindle.


The scarf is extremely warm!  I love it.  When I cast on, I had no idea how long the scarf would turn out.  I was expecting it to be at least 3 feet long, maybe even three and a half... but when I cast off, I was pleasantly surprised.  It's a little over 9 feet long.  Perfect!

gooseprints in the snow

Friday, December 06, 2013

Animal Photos Once Again: Alpacas and Llamas

These are our rescue boys.  Tommy refused to be photographed, but the others put on a show for us.

Beau is really an Alpaca, Possibly the largest one in BC
He's considerably larger than our rather large llamas.

Toothless Max, the really old llama.
We love him dearly and are happy we can give him
the care he needs to live out his remaining years.
His fibre is also the softest and finest fibre I've worked with.

Tyrone the rescue alpaca dancing at the fence

more dancing.  

Would you like to stand still for a proper photo?
Shakes head no.
Oh well, here's your breakfast.


Wednesday, December 04, 2013

Animal Photos Once Again: Geese

Two baby geese from last spring are almost full size, just a foot to go.

You remember this little guy.
It's the white goose in the photo above
Grey goose is happy to see me and flaps his wings

Then he flaps them even faster.

Then he (or possibly a she, we don't know) looks for grass to eat

"I'm done with these photos, I'm going over here now."

Tuesday, December 03, 2013

Handcarding wool for spinning - some words as to why it is worth it

The other day when I mentioned to another spinner that I was carding an entire fleece by hand, their reaction was shock followed by 'why don't you get a drum carder?'  It's not the first time this has happened.  I have two drum carders, actually, that I've acquired over the years, but sometimes they just don't cut it. Either the fleece won't work with the drum carder, it's too fragile, too variable, too short, too long... &c, or I want a specific result and can only get that by hand, or sometimes, I just don't have time to use a drum carder so I do it by hand.


Wait a moment.  Did I just suggest that hand carding is faster than drum carding?  Yes I did.  And it can be, unless you have one of those super-awesome ultra-modernized electric or steam powered drum carders... then of course, it's faster than hand carding.  Got to love those super-awesome ultra-modernized electric or steam powered drum carders.

What makes hand carding faster is that it's less restrictive.  With drum carding you have to dedicate yourself to the task at hand, whereas hand carding can be done while multitasking, anywhere you like.  You can do two or three minutes in the kitchen while waiting for the kettle to boil, then take your cuppa tea and card in the TV room, then you remembered you need to update your computer, take the cards to where the computer lives, and card a bit while waiting for the updates, or watching videos, or whatever you do on the computer....You can take the cards to spinning night, to the garden where your friends kid is running around,... anywhere (well, almost - just remember those teeth are dangerous and pointy).  Whereas a drum carder needs to be set up and clamped down in one place.  Think about it as the difference between a spindle and a spinning wheel, or more to the point, a knitting machine and two pointy sticks.   

So if judging by actual minutes spent at carding, hand carding is the slower choice, but if pure dedicated efficiency was the case, we wouldn't be spinning by hand or knitting our own socks.  It's the pure flexibility of hand carding is why I love it.  It's not for every fleece, but it does have it's uses and shouldn't be publically shunned by those who have never tried it and/or don't know how to do it properly.  (oh, sorry, that sounded bitchy.  But lately I'm so frustrated by well-meaning people who try to help by dissuading others from even trying.  Yarn people get enough of that in real life with all the 'why don't you buy your own socks instead of wasting time knitting them', I wish we would remember how this and be more careful when advising others to give up before they even started... but sigh. That's not a topic for today.)


But hand carding is hard on the arms and damages the cards?  Both true, unless you do it right.  Then it's not that way at all.

I'm going to give you a few tips and pointers.  Many of you already know this, but I'll start from the basics.


How to use hand cards to prepare wool for spinning into yarn.


First a bit of advice.  Have you ever heard that sound when the teeth (the pointy bent bits of wire) on the two cards rub each other?  This is a bad sound and means that your cards are being damaged.  It also means that you are having to put extra effort into the task of carding because now you don't just strain against the wool, but also against the teeth.  To make it easier on your arms, and your cards last longer, use this sound as a warning alarm.  Like a big loud klaxon.

There are lots of different opinions on how to card by hand, so I'm not going to be offended if you don't like mine.  The reasons why I think my way is good is because it's not tiring on the arms, it's fast, and after carding almost a dozen fleeces, I have only one bent tooth which I think was bent in transport and not from actual carding.  

First of all, we do what's called charging the cards (we put wool or other fibre on it).


The key to making carding easy is not to put too much fibre on it.  A small handful of wool, allow the tips of the fibre to catch in the teeth of the card, and then gently pull.


Here's the card fully loaded.  You notice how most of the fibre is at or hanging over the edge of the card?  That's good.


The next thing you do is to catch the end of the fibre with the end of the second card.
Can you see how far apart the two cards are?


It's just like combing long hair, you start at the ends, then move slowly up.  Catch a bit of the wool, move the cards apart, catch a bit of the wool, move the cards apart.  Remember the goal of this is to organize the fibre, NOT to move the fibre back and forth between the cards as quickly as possible.  I think I need to say this again, only in bold, because it is really important!  The goal of this is to organize the fibre, NOT to move the fibre back and forth between the cards as quickly as possible.

So by now, you've carded all the fibres that were hanging over the edge of the first card.  Now comes the tricky part.  If we were to just continue the same motion, we would have the two cards rubbing teeth - we don't want that.  So we hold the first card stationary (yes, I know I switched hands in the photos, sorry for the confusion) and move the second card in a rocking motion so that it lifts up just the end of the fibre.


Once the tips of the fibre are lifted up, and the cards are not touching each other anymore, we can pull apart the two cards, thus untangling the fibre and not rubbing the two cards together.  Continue doing this until the fibre is moved to the other card... but slowly and concentrate on organizing the fibre, not speed.  Speed will come with practice, but is useless unless it gets the desired effect.

Also for this, I find if I use my wrists too much, they tire quickly.  So I usually engage my whole arm, keeping wrist and elbow semi-ridged.  If something starts to fatigue, I put the cards down (where they won't accidently damage anyone) and stretch.  You know, repetitive motion stuff, bla,bla,&c.

This is after the first pass on the cards.  Much more fluffy than before, but still a bit tangled.  So let's do it again.


After the second pass:


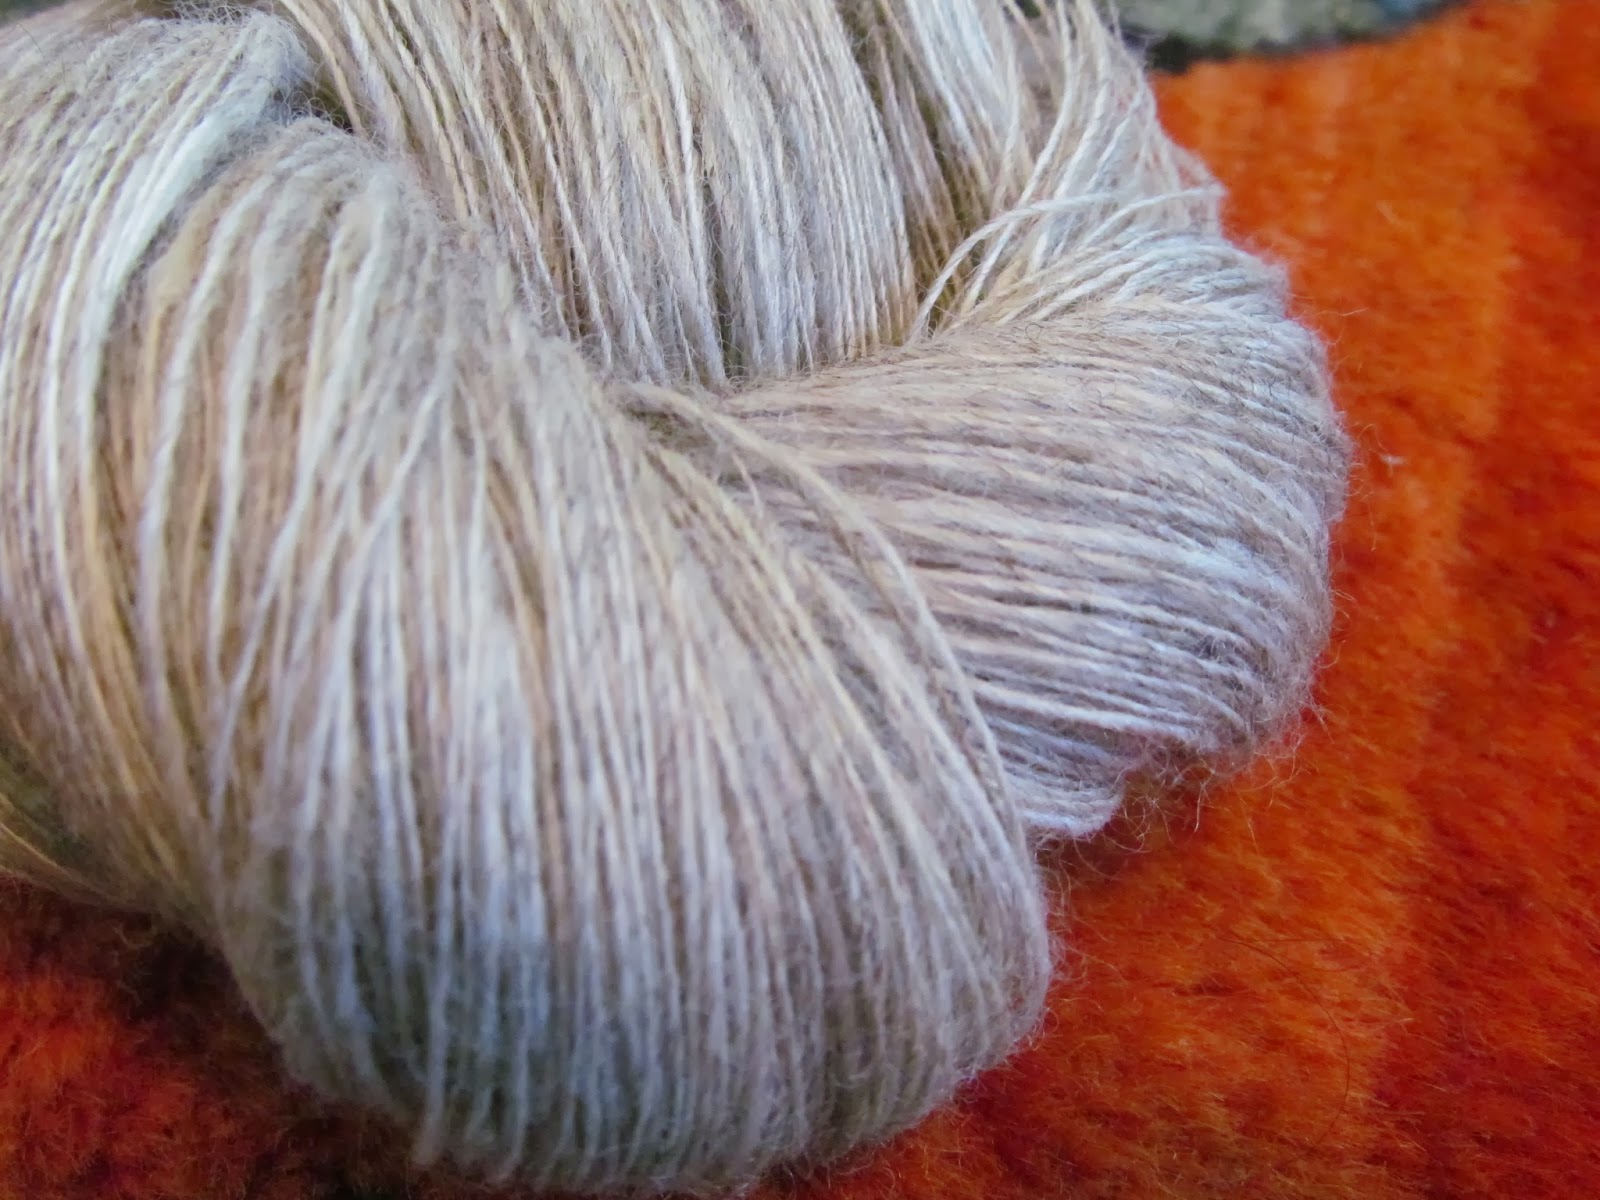
 It looks ready to go.  At this stage you can choose how you want to organize the fibre: flat, rolag, or worsted-style rolag.  For this yarn, a traditional rolag works well.


And there you have it. Takes about 1 to 3 minutes  10 to 40 seconds per rolag.  The basket full is about 1/3rd of an icelandic fleece from a beautiful, and friendly sheep named Cloud.


Thursday, November 28, 2013

Woot, first major commissioned handspun yarn complete

I don't know if I've ever told you this, but I love hand spinning large amounts of yarn for other people.  Sadly I can't afford to do it for free, but sometimes I can do it for trade or money.  And I love it!

Spinning yarn to order is wonderful, because I know that the yarn has a destination and I don't need to deal with all the doubts:  What if no one likes the same yarn I do?  I know they want the yarn because I made samples and we talked about it's use and &c.


There are 24 skeins and over 1100 yards of boucle yarn.  It's spun from a delightful Romney fleece from a sheep from one of the near by islands.


It's absolutely delightful yarn, if I may say so myself.

In other news, I'm really interested in this idea.


I think we need a local network of textile artists and maybe set up some sort of exchange programme.  For example, I love to spin and weave, but I seldom sew or knit... so maybe someone else knits but doesn't spin... so maybe if I were to spin twice as much yarn as is needed for a project, then another person knit the sweater and they got paid in the same yardage as the sweater took to knit... Just an idea.  Don't know how it would work, or who would organize it... but it's a fun idea.


Thursday, November 14, 2013

Shhh... they are sleeping

Not much going on here.  Well, that's not true. There's lots going on, just not much to write about.  What there is worth sharing is mostly food related.

But here's an exciting thing.


They are sleeping now.  Live silk moths inside their beautiful cocoons.  When they wake up in the spring, they will flap their wings, find a mate and make lots of little eggs, which will hatch and eat and grow... and on and on.

But they are not your usual silk worm.  Oh no.  These are Polyphemus silkmoths.  A species that grows wild around here.

We are going to have a lot of fun together.

In other news, spinning lots.  Met an absolutely lovely person who asked me to spin some yarn for her.  It's just the project I needed to get my spinning mojo going again.

Monday, October 28, 2013

Hand spun yarns, soon to be for sale at Knotty by Nature


It's that time of year again when I need to start thinking about Holiday Shopping.  So I figured I would take some of my best handspun yarns down to Knotty by Nature in hopes of earning a bit of spending money.

I'm quite sad to see these yarns go, but I hope that someone can make something beautiful from them.

If you do buy some, feel free to let me know what you make from it.


By the way, if you find the ridiculously expensive lace weight yarn, a whopping 770 plus yards, only buy it if you are going to make something amazing from it!  It's my favourite and I won't be heart broken if it doesn't sell.

If you are one of my out of town, etsy customers and were thinking of buying one of these yarns, let me know, or get in touch with Knotty by Nature and if it's still available, we may be able to work something out.